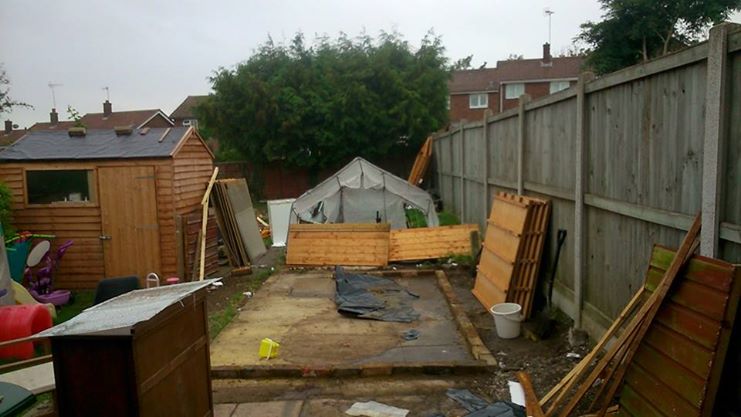
As my partner and I are both studying degrees with the Open University and require a quiet place to study and relax where there will be no screaming children we decided to disassemble the dilapidated wonky shed that was in the garden and re-build it properly.
After everything was taken down we were left with a huge mess in the garden, so set to work on building a brick base as the old shed was a little short. I’m 6’3, what is this… a shed for ants!!
More brick laying later and the foundations are starting to come along nicely, adding enough space for me to actually stand up straight in the new office.
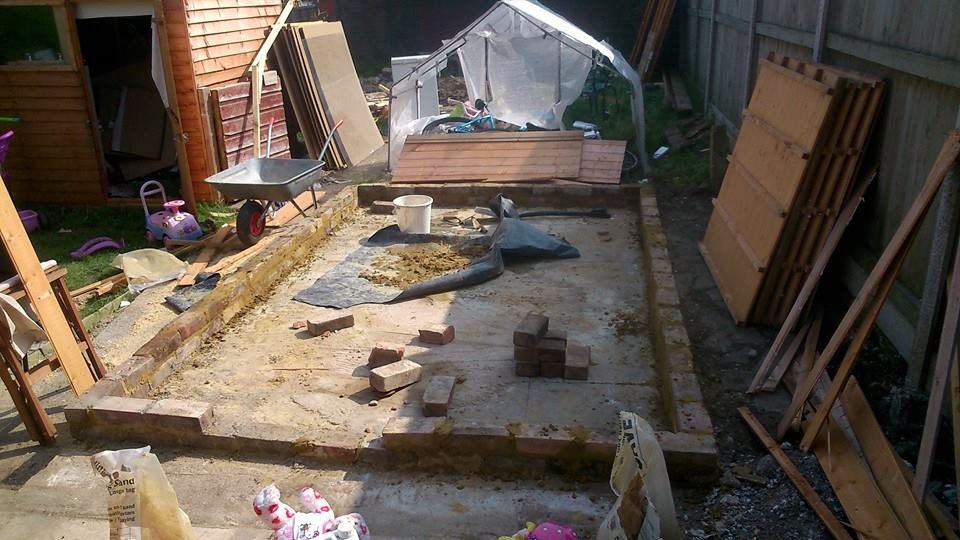
Once the brick base was fully set I created a 2×4 timber frame that was bolted down through the brickwork and into the concrete base, this helped to add a little more to the heightof the office-shed and also gave me a good flat platform to bolt the timber structure onto.
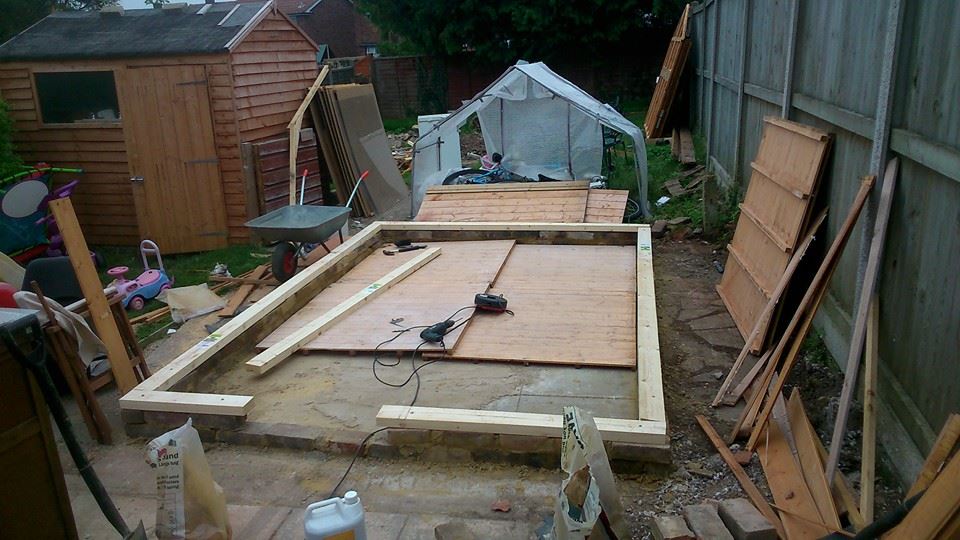
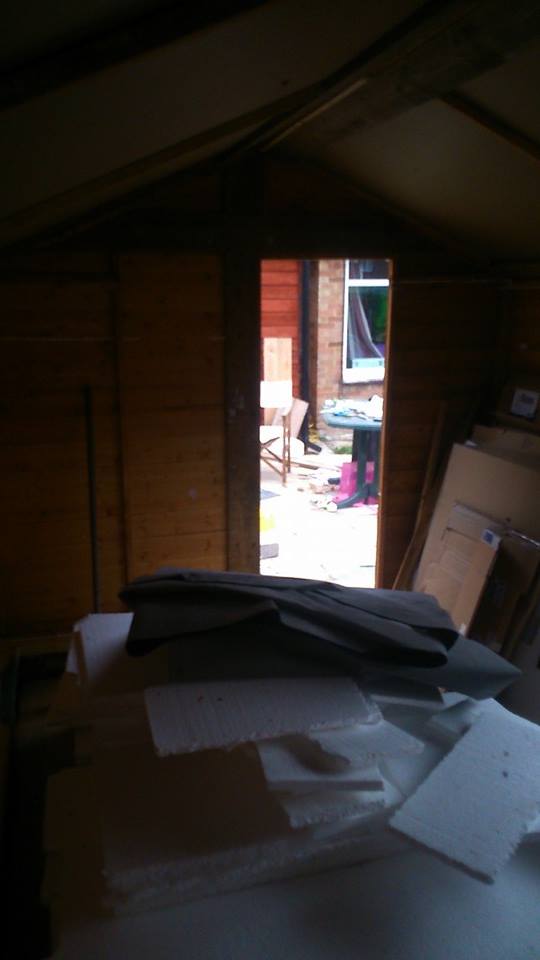
Next it was time to start building the timber part of the structure, please note that the timber panels from the old shed have had a lot of structural work done on them to ensure they stand straight and true. Who want’s to look out the window and see a leaning tower of wood that might be considered a shed in another world.
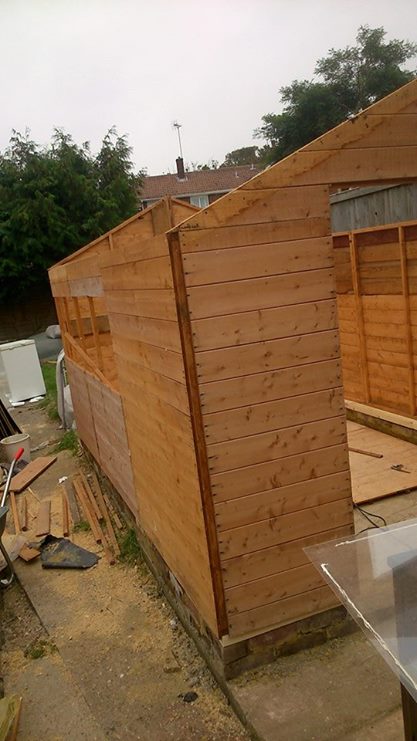
After enlisting two young children to help out I realised my mistake, this was only going to make things harder for me. Any how, from here you can see the 6×1 timber crucifix that was embedded into the wall panel helping to keep it standing straight and proud.

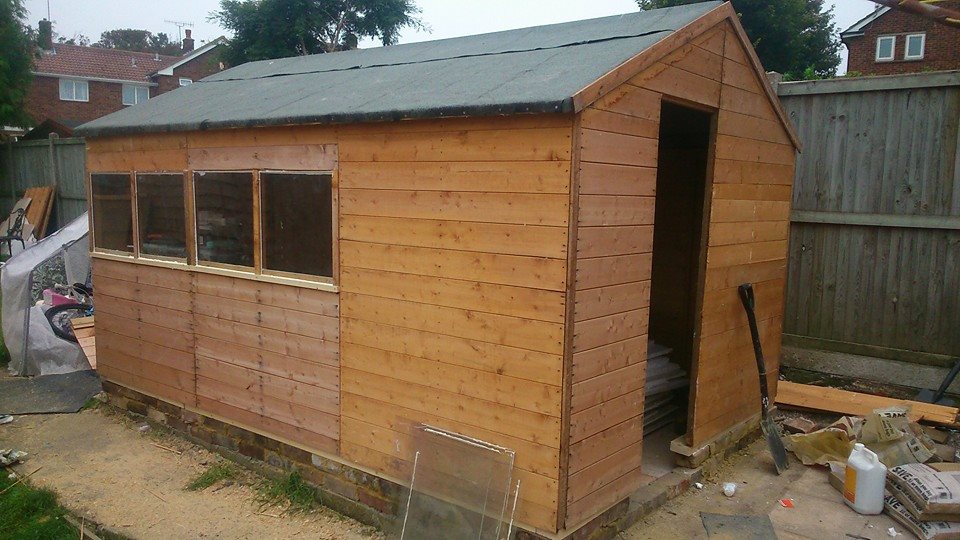
Now it was time to install the roof panels onto the four 6×1 timber panels that were installed to support the roof. I’ve now gone from concerns of damaging the old shed by leaning on a roof panel to confidently applying all my weight to it without any movement.
Just in case it wanted to rain I then climbed about on the roof to fit the felt, God may let it pour as much as required now. (I’m quite happy with the felting job, considering I did it single handedly using reclaimed felt.)
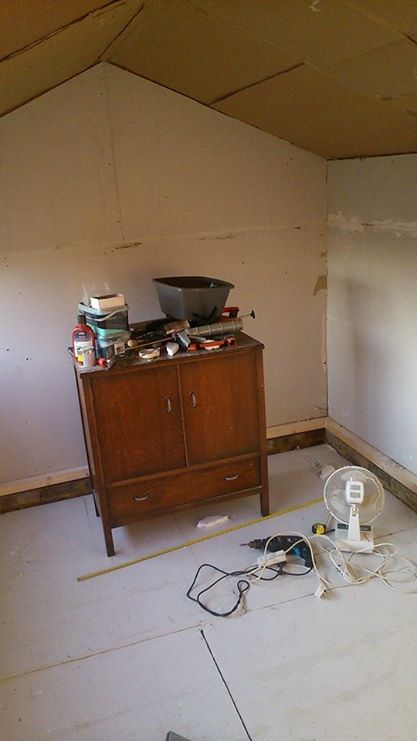
After filling every cavity with polystyrene board I learnt the art of cutting plasterboard, it’s very easy and mess free when you know how,
In a bid for a quick break from gap filling I turned my attention to building and fitting a custom built door frame and stable door, with a nice secure locking mechanism. Ignore the gap around the door, this has now been covered with some fancy carpentry to create a flush child screaming, sound blocking finish.

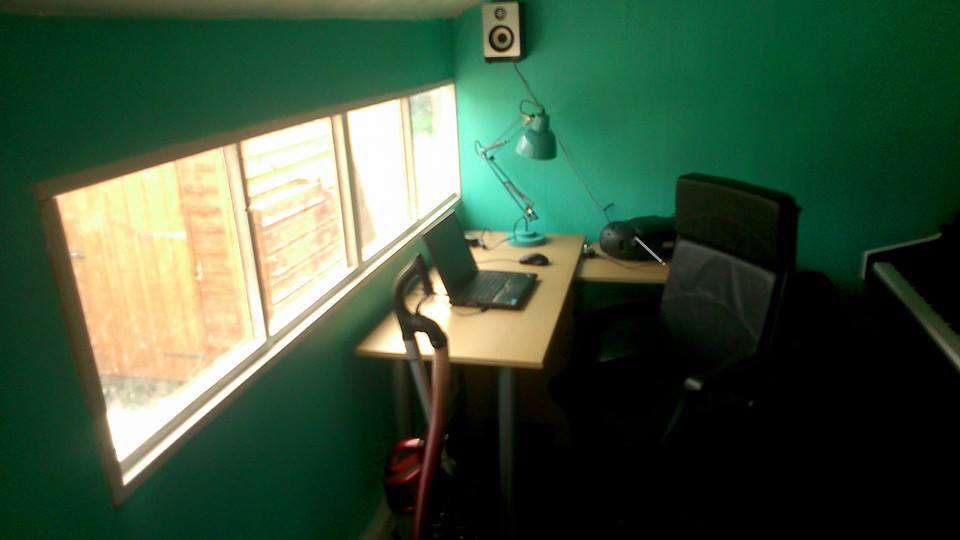
Forgetting to take some photos for a while, the office-shed has been fitted with a 40A electrical circuit offering a comfortable 8 sockets and 2 100w lighting rings, all walls have been finished with filler, thick durable lining paper and then painted to make it look pretty. As it’s an office a nice desk and chair have been installed.
And for the times we get a little board of doing work, the other side is kitted out for fun times.
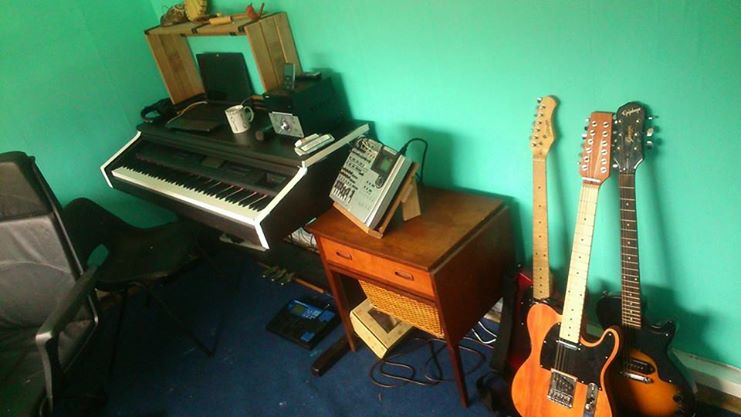
And that’s it, this is our 14 day adventure from dilapidated pile of wood to a cosy office/music studio.
Leave a Reply