This article continues on from the 2 part guide ‘Setting up a Debian home web server’ where you will be guided through the process of installing Debian Linux and the related software to form a local web server. As the guide covers the installation with minimal modification this chapter will give a starting point for securing your web server from intrusion and attacks.
Some basic points that help to secure a server are:
- Disabling root login via SSH.
- Changing the SSH port number.
- Assign PHPMyAdmin to a port other than 80.
- Automatically installing security updates.
- Temporarily blocking IP addresses that repeatedly fail login.
Disabling root login via SSH
Every Linux install has a user named root, if you are able to login to SSH with the root user account this gives hackers a head start as they already know the username and only need to find the password. The other reason is that a standard user doesn’t have the permission to change important system files, if a hacker manages to gain access to your user account via SSH they still require the root password to cause additional damage.
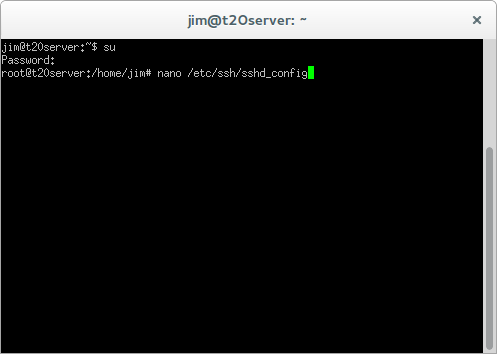
Returning to your SSH client (for example: Putty), log in using your user account (not root) and type the following command:
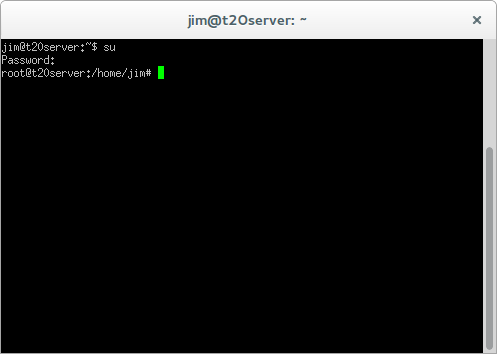
su
The ‘su’ command stands for ‘Super User’, issuing this command while logged in as a standard user will allow you to access the root account. You will be prompted to enter the root password to continue.
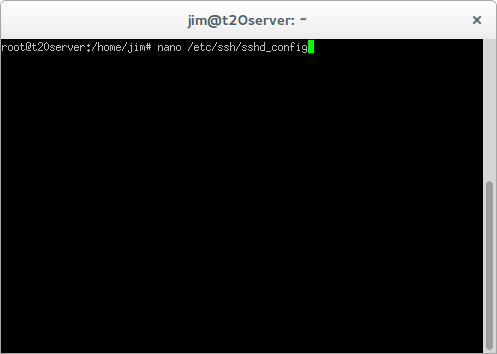
nano /etc/ssh/sshd_config
This command opens the SSHd configuration file in the nano text editor.
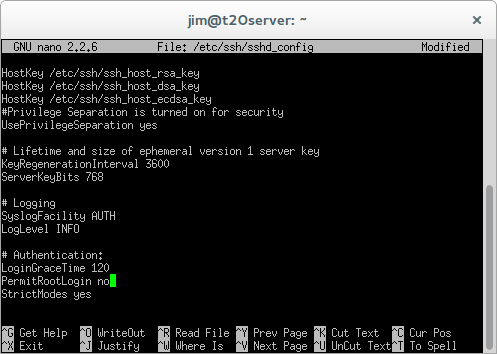
PermintRootLogin no
Within the config file, locate the line that reads ‘PermitRootLogin yes’ and change it to ‘PermitRootLogin no’. Save the file by pressing [CTRL + O] and exit nano by pressing [CTRL + X].

/etc/init.d/ssh restart
This command will restart the SSH server and reload the configuration files.

If you now try to login to SSH using the root account you will be denied access.
Changing the SSH port number
Another pointer that adds extra steps for potential hackers is to change the port at which SSH can be accessed. The default SSH port is ’22’, if we were to change this port to another number any hacker who wishes to access SSH would have to first find the SSH port number before even considering working out usernames and passwords.
As a general rule you can change a port number to almost anything you want on your own server as long as it doesn’t conflict with another assigned port, although it is advisable to choose a port above 1,023.
In this example we will change the SSH port from ’22’ to ‘2020’, it is advisable to select a port number with some memorable significance, such as your date of birth, anniversary etc…
From your SSH terminal, login using your account, then run the ‘su’ command to access the server as a super user. Type the following command:
nano /etc/ssh/sshd_config
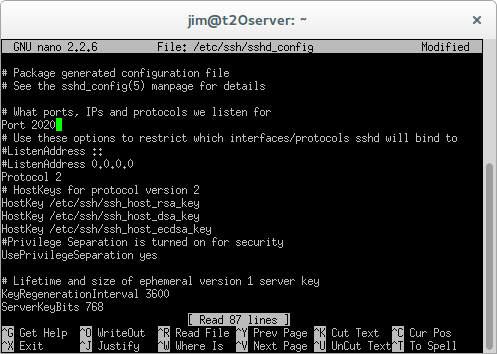
Within the sshd_config file locate the line ‘Port 22’ near the top of the file and change the port number to your desired port. Save the file by pressing [CTRL + O], then exit nano by typing [CTRL + X].
Port 2020

/etc/init.d/ssh restart
Use the above command to restart the SSH server and load the new settings.
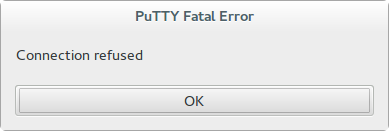
If you now close your SSH client and attempt to reconnect using the default port number you will be faced with an error message.
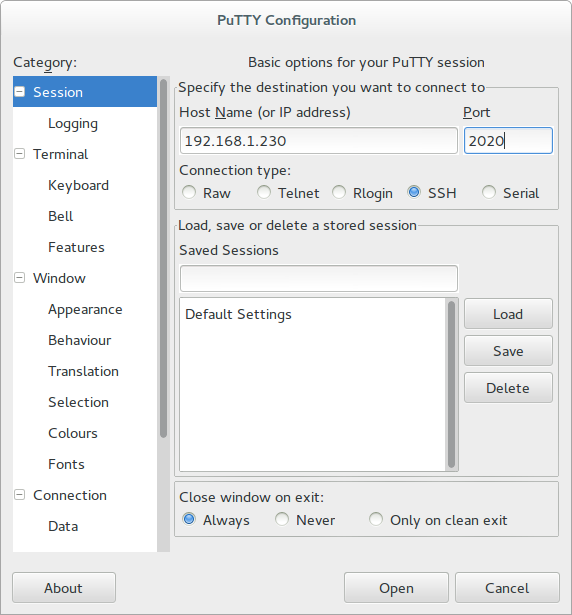
Re-open you SSH client and this time enter the IP address of your sever, this time before clicking connect change the port to the one you have just assigned. You should now connect via SSH without any problems.
Assign PHPMyAdmin to a port other than 80
Port 80 is the standard HTTP port, for example whenever you view a website by entering the domain name you are actually connecting to the server on port 80. For example ‘http://domain.com’ is the same as ‘http://domain.com:80’, for example if you were to assign PHPMyAdmin to port 2048 you would then be able to access the PHPMyAdmin login page by visiting ‘http://domain.com:2048/phpmyadmin/’. This adds further security to your web server as it effectively hides the PHPMyAdmin login page.
Again login to your SSH client using your user account and use the ‘su’ command to access the server as a super user.
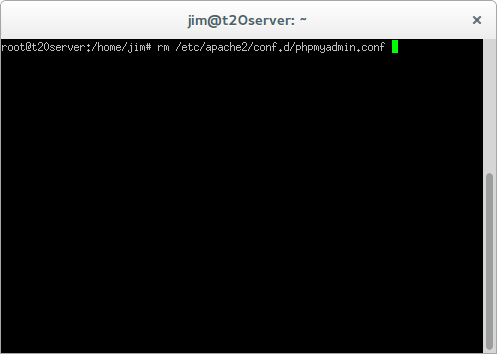
rm /etc/apache2/conf.d/phpmyadmin.conf
This command removes the link between apache and phpmyadmin, which in turn removes the current web access method of ‘ip/phpmyadmin’.
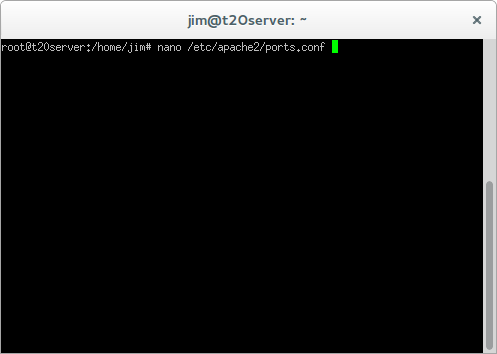
nano /etc/apache2/ports.conf
This command allows you to edit the apache2 ports configuration file.
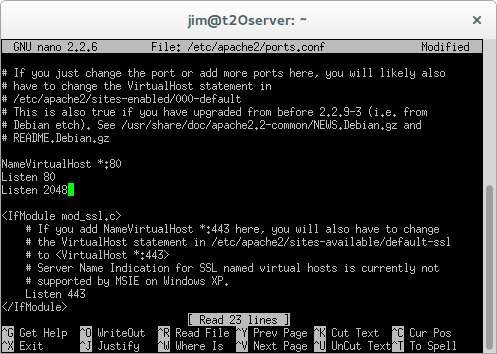
Listen 2048
Below the line near the top that reads ‘Listen 80’ add a new line that reads ‘Listen 2048’ where 2048 is your chosen port for PHPMyAdmin. Save the file by pressing [CTRL + O], and exit nano by pressing [CTRL + X]. This modification will tell apache to accept incoming requests on port 80 and port 2048.
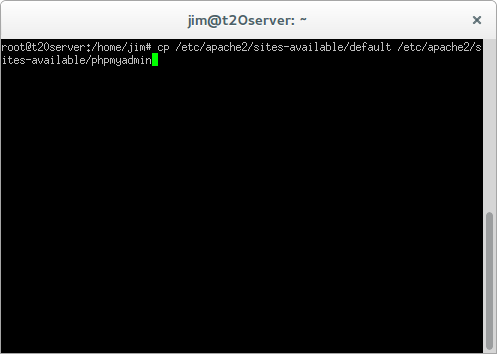
cp /etc/apache2/sites-available/default /etc/apahce2/sites-available/phpmyadmin
This command copies the default virtual host template to a new file which will control the access of phpmyadmin.
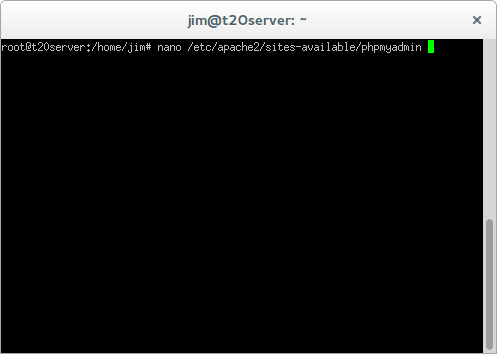
nano /etc/apache2/sites-available/phpmyadmin
This command will allow us to modify the newly created phpmyadmin virtual host file.

In the files that opens change the following lines:
<VirtualHost *:80>
to
<VirtualHost *:2048>
Then
DocumentRoot /var/www
to
DocumentRoot /usr/share/phpmyadmin
Then
<Directory /var/www/>
to
<Directory /usr/share/phpmyadmin/>
Now save the file by pressing [CTRL + O] and exit nano by pressing [CTRL + X].
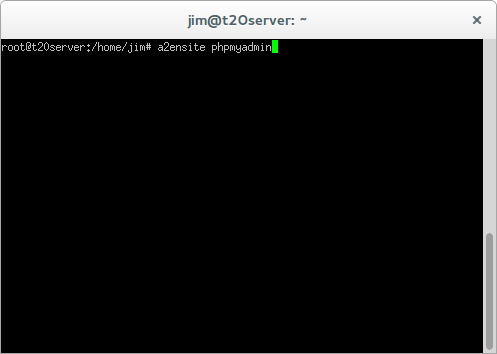
a2ensite phpmyadmin
This command enables the virtual host that we have just created called ‘phpmyadmin’.
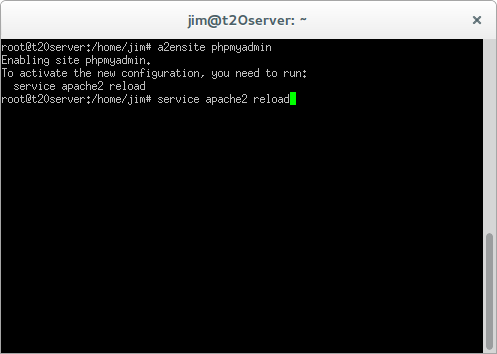
service apache2 reload
This command will reload the apache configuration files enabling the changes.
If you now open a web browser and direct it to the previous location of PHPMyAdmin (in my case this was: 192.168.1.230/phpmyadmin) you will receive a 404 error as the page will not be found.
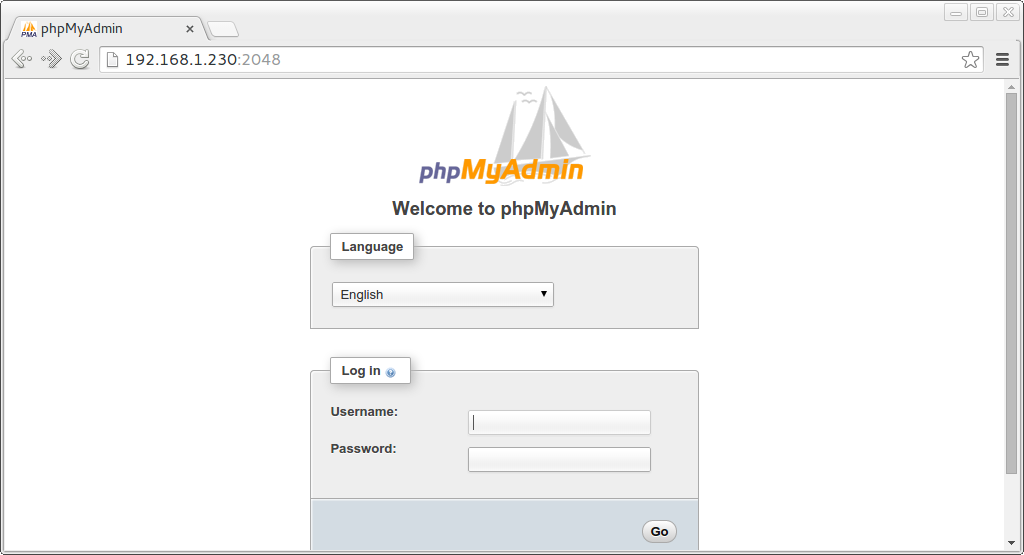
To access PHPMyAdmin we now need to use the port assigned earlier, in my example I would access PHPMyAdmin by visiting: http://192.168.1.230:2048.
Automatically installing security updates
Security updates can be installed manually although using this method it is easy to miss an update that could potentially avoid a hack attack, I therefore prefer to install security updates automatically allowing me to rest and not worry about regular checks and potentially missing something important.
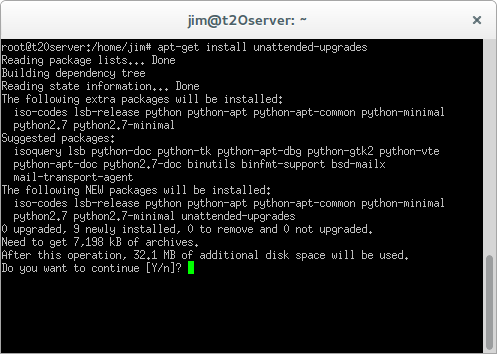
apt-get install unattended-upgrades
This command will install the package ‘unattended upgrades’ from the Debian repository. Press ‘y’ to confirm the installation.
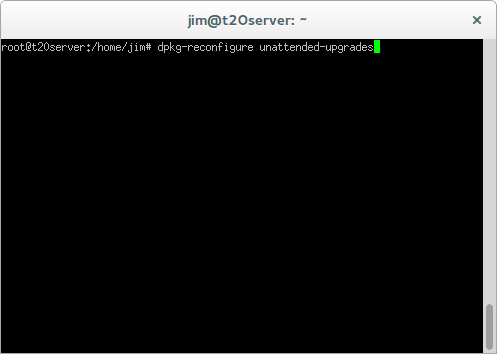
dpkg-reconfigure unattended-upgrades
This command will configure the ‘unattended upgrades’ package in order for it to be used.

You will be asked if you wish to enable automatic security updates, select ‘Yes’ to enable automatic updates.
For now the default settings of ‘unattended upgrades’ will be sufficient, updates marked as ‘security’ will be downloaded and installed without any intervention, although, should an update require the server to be rebooted this will not be done automatically.
Temporarily blocking IP addresses that fail login
Some methods of hacking a users password include brute force methods, where a computer attempts every possible combination of letters, numbers and symbols in succession until a match is found. In order to stop these kinds of attacks we will install an application called Fail2Ban which will allow us to block the hackers IP address for a short period if they make a certain number of failed login attempts, this causes the brute force software to give up on the attack. If a genuine user reaches the failed login limit they will have to wait for a short period before they are able to attempt to login again.
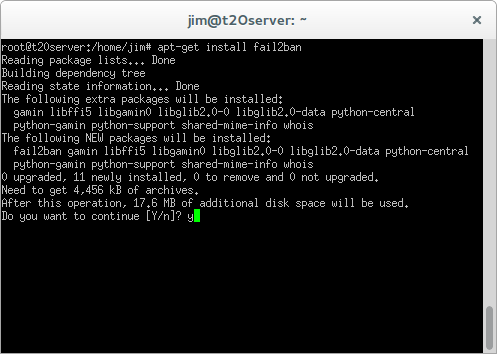
apt-get install fail2ban
This command will install Fail2Ban from the Debian repository. Press ‘y’ to confirm the installation.
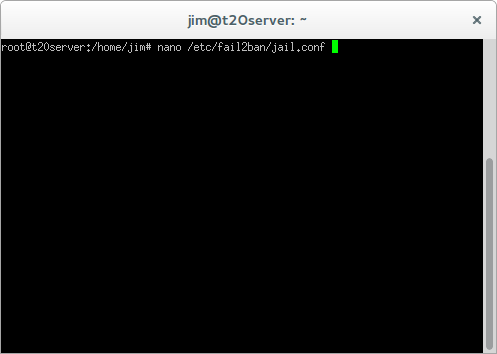
nano /etc/fail2ban/jail.conf
This command will allow us to edit the Fail2Ban configuration file, generally the default configuration is acceptable for blocking brute force attacks, but as we have changed the SSH port we will need to let Fail2Ban know.
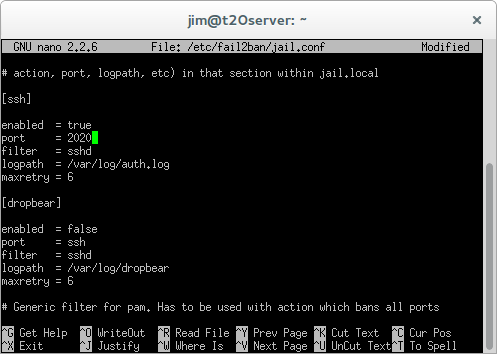
Within the configuration file locate under the [ssh] heading change the following text:
port = ssh
to
port = 2020
Where 2020 is the custom port number you assigned to the SSH server.
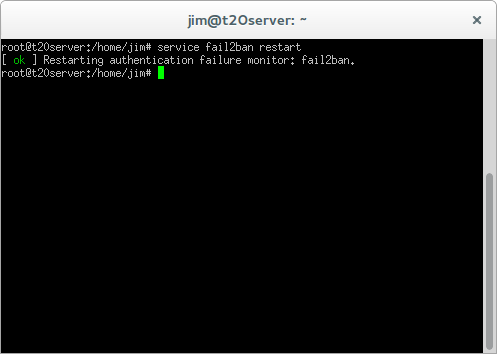
service fail2ban restart
This command will restart the Fail2Ban application and reload the updated configuration file.
You should now have home web server running LAMP (Linux + Apache + MySQL + PHP) over Debian, with security measures in place to deter intrusions and attacks. Your home web server is now ready to be put into use, hosting a website to the world wide web.
| Back – (Part 2) | Next – Router configuration |
Leave a Reply