This post is a follow up to the previous articles on setting up and securing a Debian home web server, links to each section of this tutorial can be found at the bottom of this post.
This tutorial assumes that you have already set up a home web server, be it a Linux, Windows, MacOS, BSD server, running any combination of HTTP/SSH/FTP/MySQL software.
Also assumed is that your home internet connection is provided with a static IP address (an IP address that never changes), at a later date I do plan on adding information regarding dynamic DNS, but for now I will only deal with static IP’s.
Finally this guide has been created using a PlusNet Technicolor TG582n router (as the Netgear router is having a break), the method of conducting these modifications will differ from router to router, hopefully this guide should give you an idea of what to look for on your own router.
HTTP (port 80)
First of all you will be required to login to your home router, this is usually done by directing your web browser to ‘http://192.168.1.1’ or ‘http://192.168.1.254’ although again this may differ depending on your home set-up.

Log in using the user name and password provided with your router, unless of course you have changed the details to something more memorable.
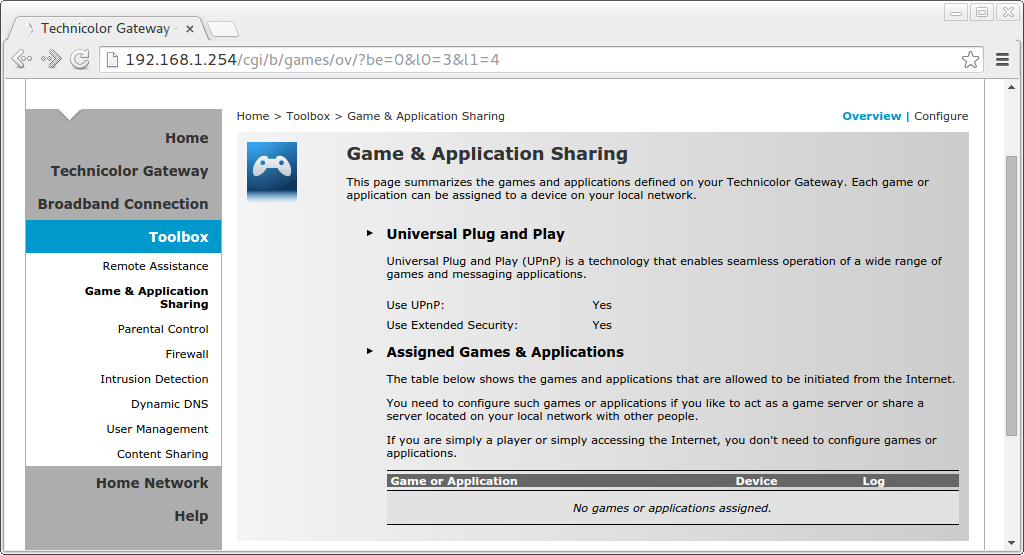
On the left column select ‘Toolbox’ then ‘Game & Application Sharing’. This section of the router configuration allows the user to forward certain incoming requests to another network location to deal with.
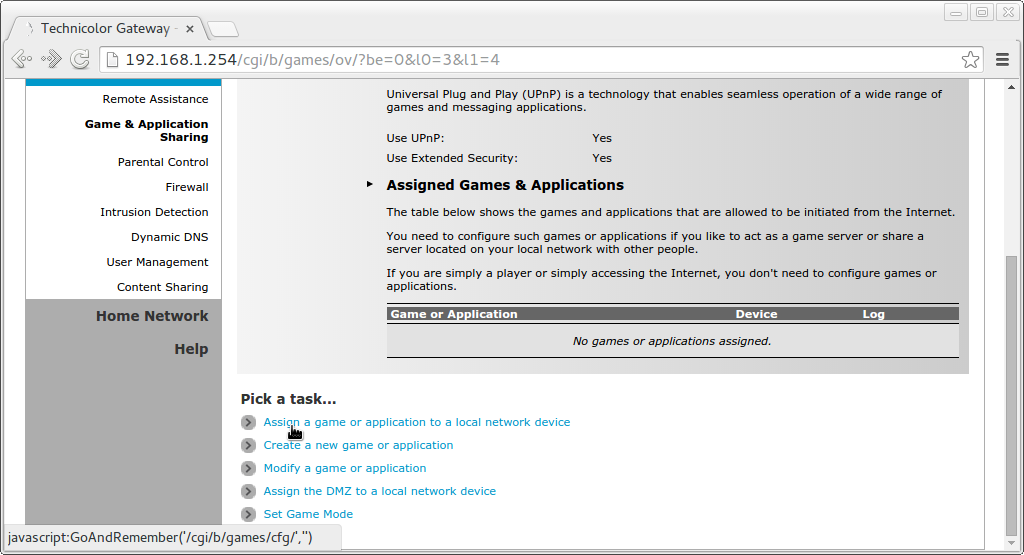
At the bottom of the ‘Game & Application Sharing’ page click the link labelled ‘Assign a game or application to a local network device’.

At the bottom of the following page select ‘HTTP Server’ from the ‘Game or application’ drop down box, then select the entry for your web server in the ‘Device’ drop down box (note: if your server does not appear in this drop down box, select ‘<user defined>’ and type the servers local IP address). Once the correct items are selected, click ‘Add’.
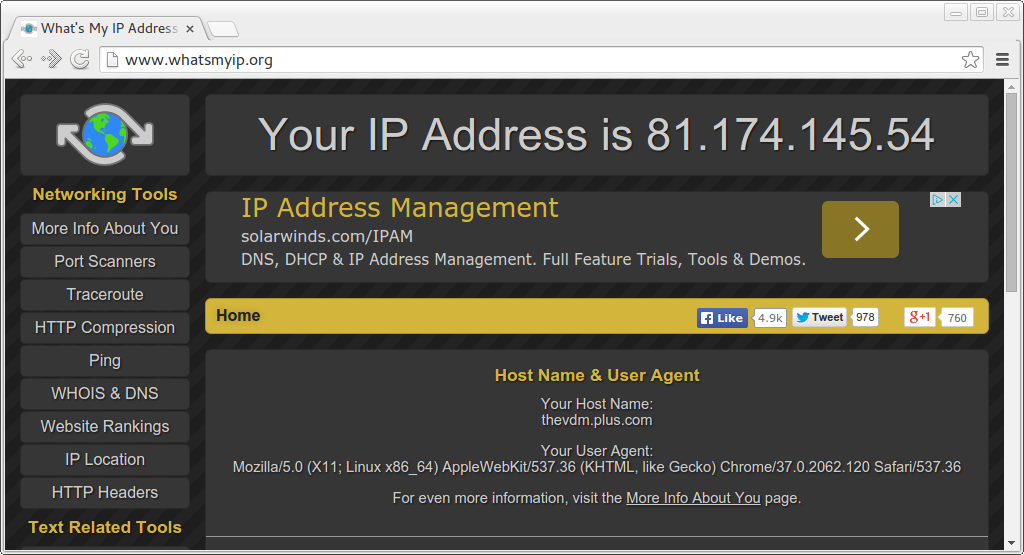
To test that this setting has taken effect you will need to find your external IP address, this can be done by visiting http://whatsmyip.org. Your external IP address will be displayed at the top of the page.
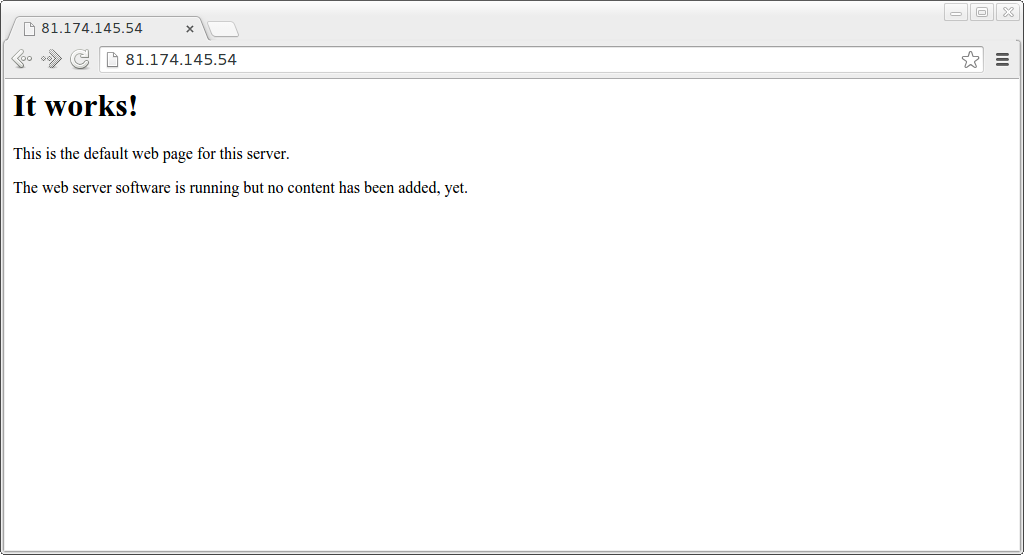
Enter your external IP address into a web browser, you should now see the default website that is hosted on your web server, in my case this is the default Apache message.
FTP (port 21)
You only need to add the FTP port to this list if you wish to connect to your server using FTP from outside your home network. If you have no need to access the server outside of your home network then not forwarding the port to your web server will increase security.

Going back to the router configuration, you may now select ‘FTP Server’ from the ‘Game or application’ drop down box, and again your web server from the ‘Device’ drop down box. Click ‘Add’.
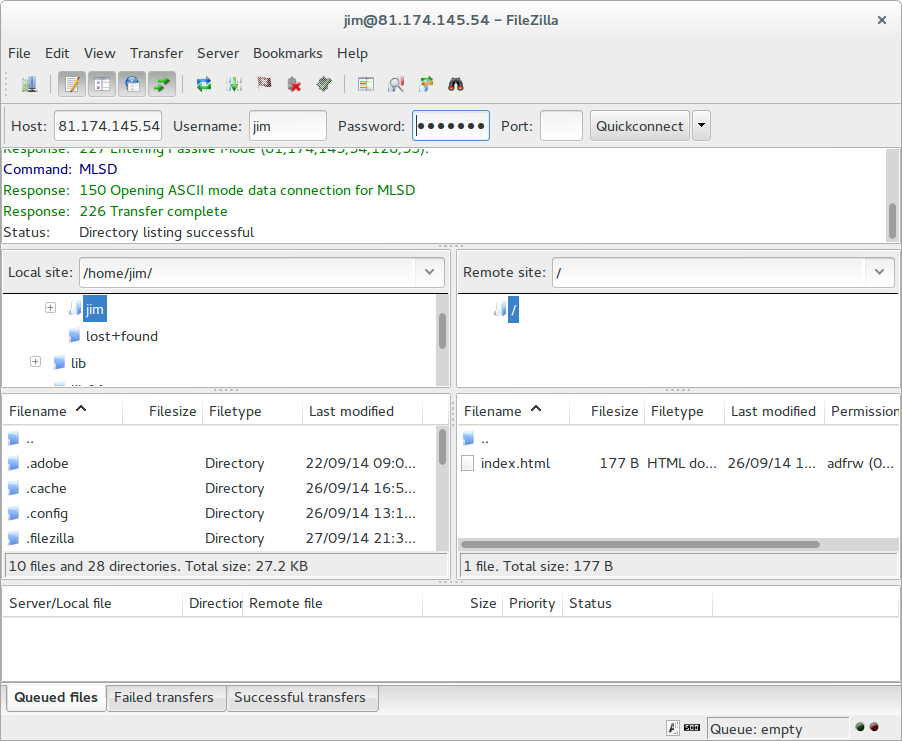
Open your FTP client and attempt to connect to your web server using your external IP address rather than the web servers internal IP address.
SSH (port 22, or in my example 2020)
You only need to add the SSH port to this list if you wish to connect to your server using SSH from outside your home network. If you have no need to access the server outside of your home network then not forwarding the port to your web server will increase security.
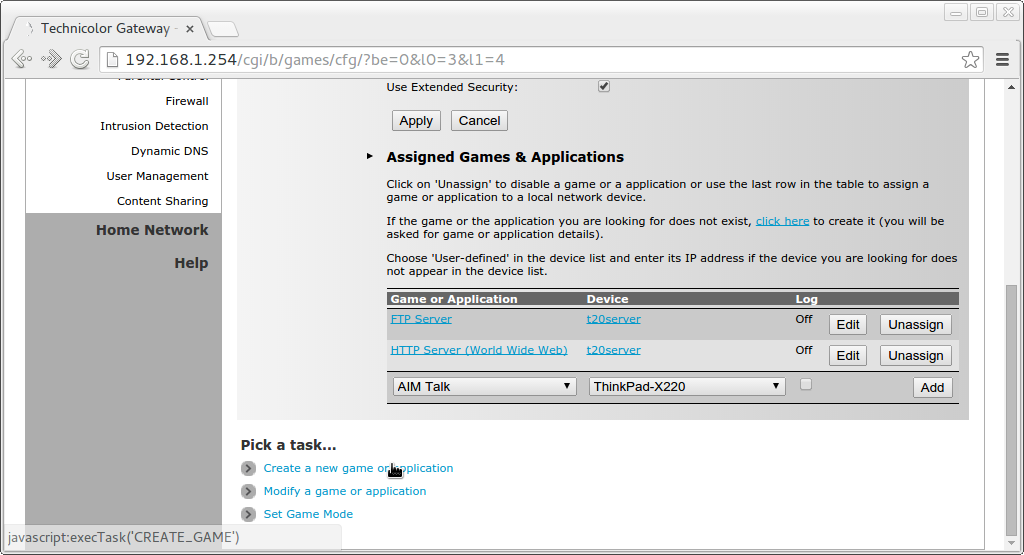
As we have changed the port that SSH can be accessed on we will need to click the link at the bottom of the page to ‘Create a new game or application’
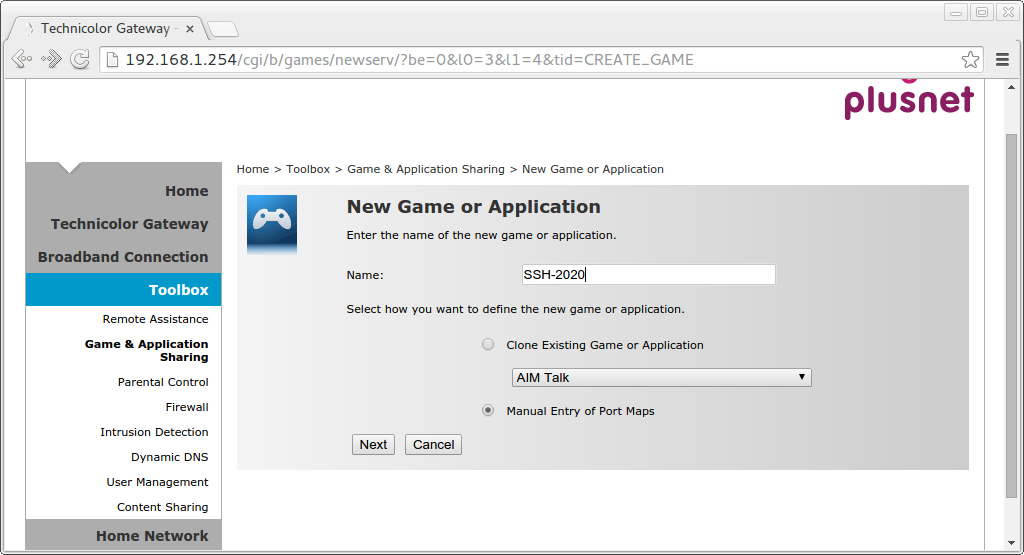
Give your custom entry a simple name, such as ‘SSH-2020’, also check the box ‘Manual entry of port maps’. Click ‘Next’ to continue.
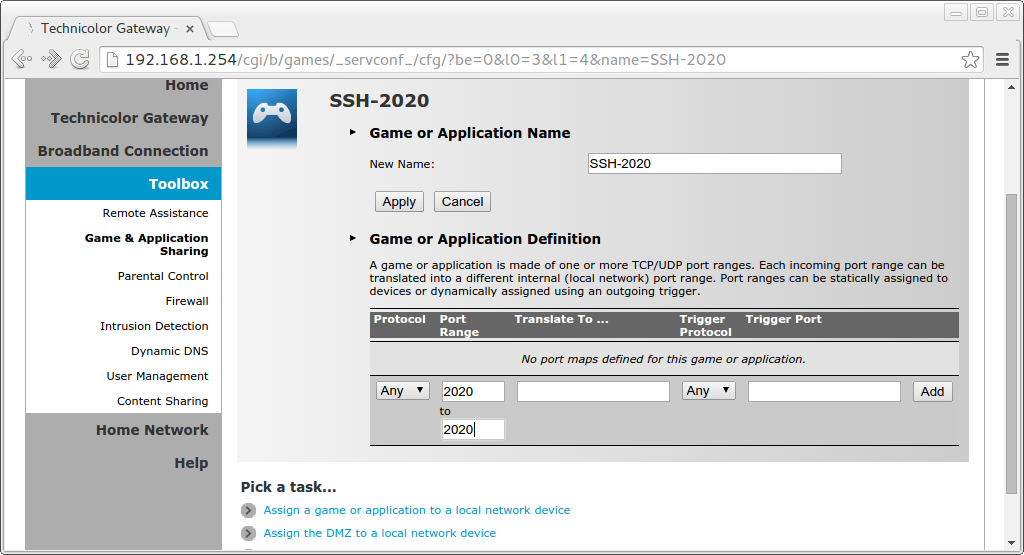
Change the ‘Port range’ to read ‘From 2020 to 2020’ changing ‘2020’ with the desired SSH port number. Click ‘Add’ to create the custom application port.

Back on the ‘Assign a game or application to a local network device’ page, select ‘SSH-2020 from the ‘Game or application’ drop down box, and again your web server from the ‘Device’ drop down box. Click ‘Add’.
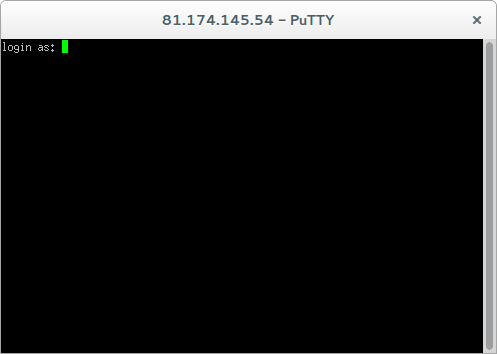
Opening your SSH client (for example Putty), now attempt to connect to your web server using your external IP address rather than the internal IP address, remember to change the port field to match the port you have assigned SSH.
HTTPS (port 443)
Although HTTPS is only required for web sites running with SSL certificates, whether purchased or self signed it is a good idea to forward this port to your server for possible future use.
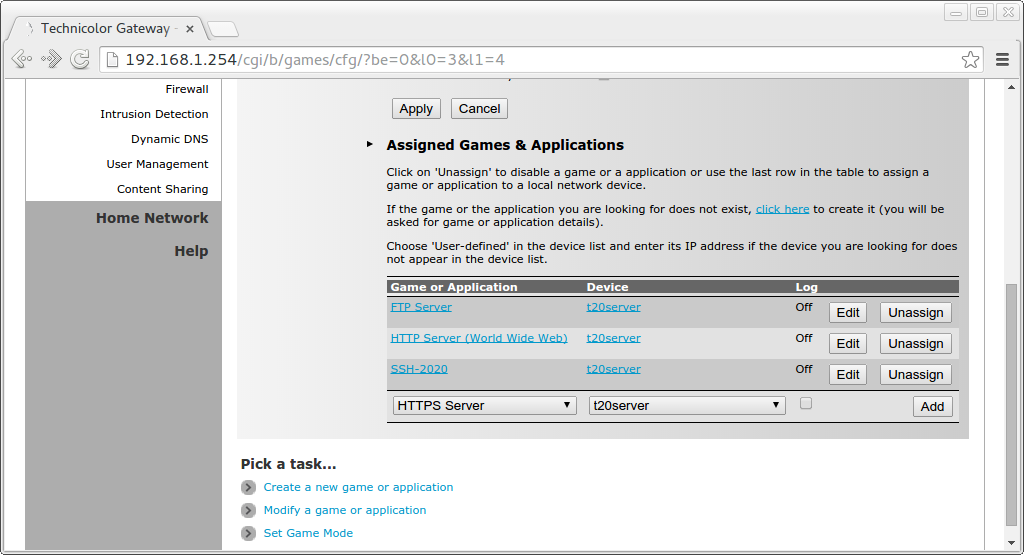
The final port that we will forward to our web server is the HTTPS port which required to access your web server over a HTTPS secure session, whether using a purchased SSL certificate or a self signed certificate. From the ‘Game or application’ drop down box select ‘HTTPS server’ and from the ‘Device’ drop down box select your web server. Click ‘Add’
Using a domain name instead of an IP address
An IP address isn’t always the easiest thing to remember, although I have had the same static external IP address for about 3 years now I still can’t remember it, although I can recognise it if I see it 😀
In order to add a domain name you will require either a free domain name (there are plenty of these about with varying extensions) or a purchased domain name, either way the domain provider will need to offer use of their own DNS servers, which pretty much all paid for domain providers do. The two domain providers that I use are LCN and Omnis, both of which provide a nice set of tools enabling you to use their DNS servers.
For this tutorial I will be forwarding a sub domain of one that is currently in use with another site, this one in fact (http://thevdm.com), the sub domain I am going to use is ‘http://t20server.thevdm.com’.
Again this part of the tutorial will vary depending on your domain name provider, if you get stuck they will no doubt be happy to help you. The example below is using Omnis.
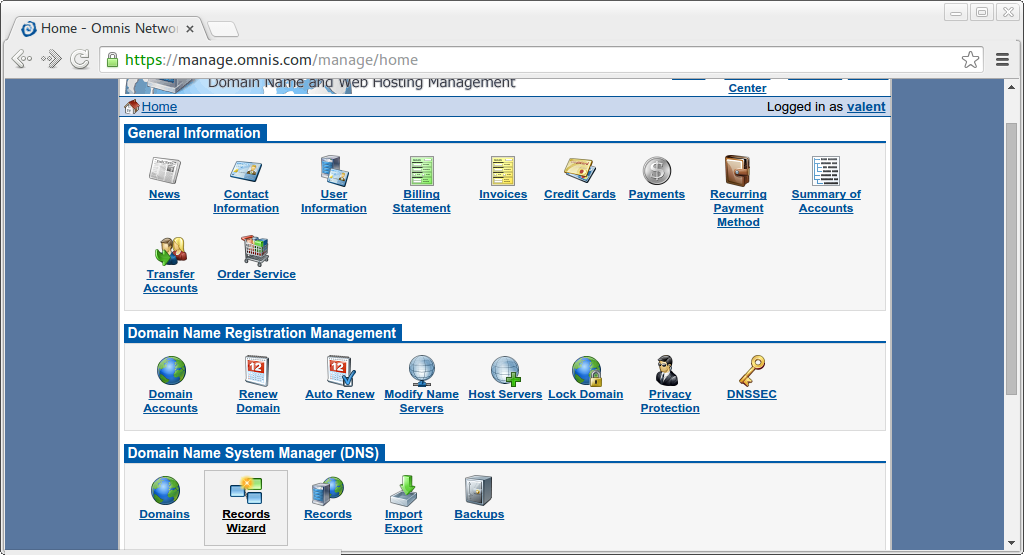
Log into your account at omnis.com and select ‘Records’. On the next page select the domain name you wish to add a record to (I haven’t pictured this as my account has a long list of domains in it).

On the record editor page, click the ‘Add’ button under the ‘A Record’ section. Then enter the sub domain you wish to use under the ‘Host name’ field, then your external IP address in the ‘Target’ field. Finally click ‘Save changes’. (Note: these changes will not take effect immediately, although they usually start propagating within 10 minutes it is recommended to wait up to 24 hours. You may also need to force refresh your browser e.g. [CTRL] + [Shift] + R in Chrome).
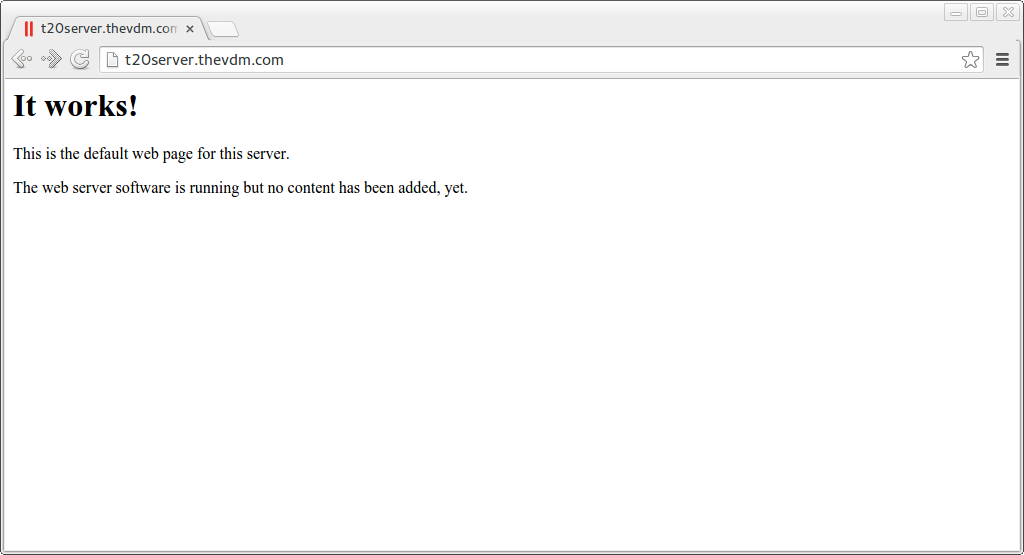
Once the DNS for your domain name has propagated you will now be able to access your web server via the domain you have chosen, in my example http://t20server.thevdm.com. If you have also chosen to allow remote access to FTP and SSH, you should now be able to do so via the domain name instead of the IP as well.
June 21, 2017 at 11:56 am
This article is well explained and detailed. Thank you.